The 3 week lager

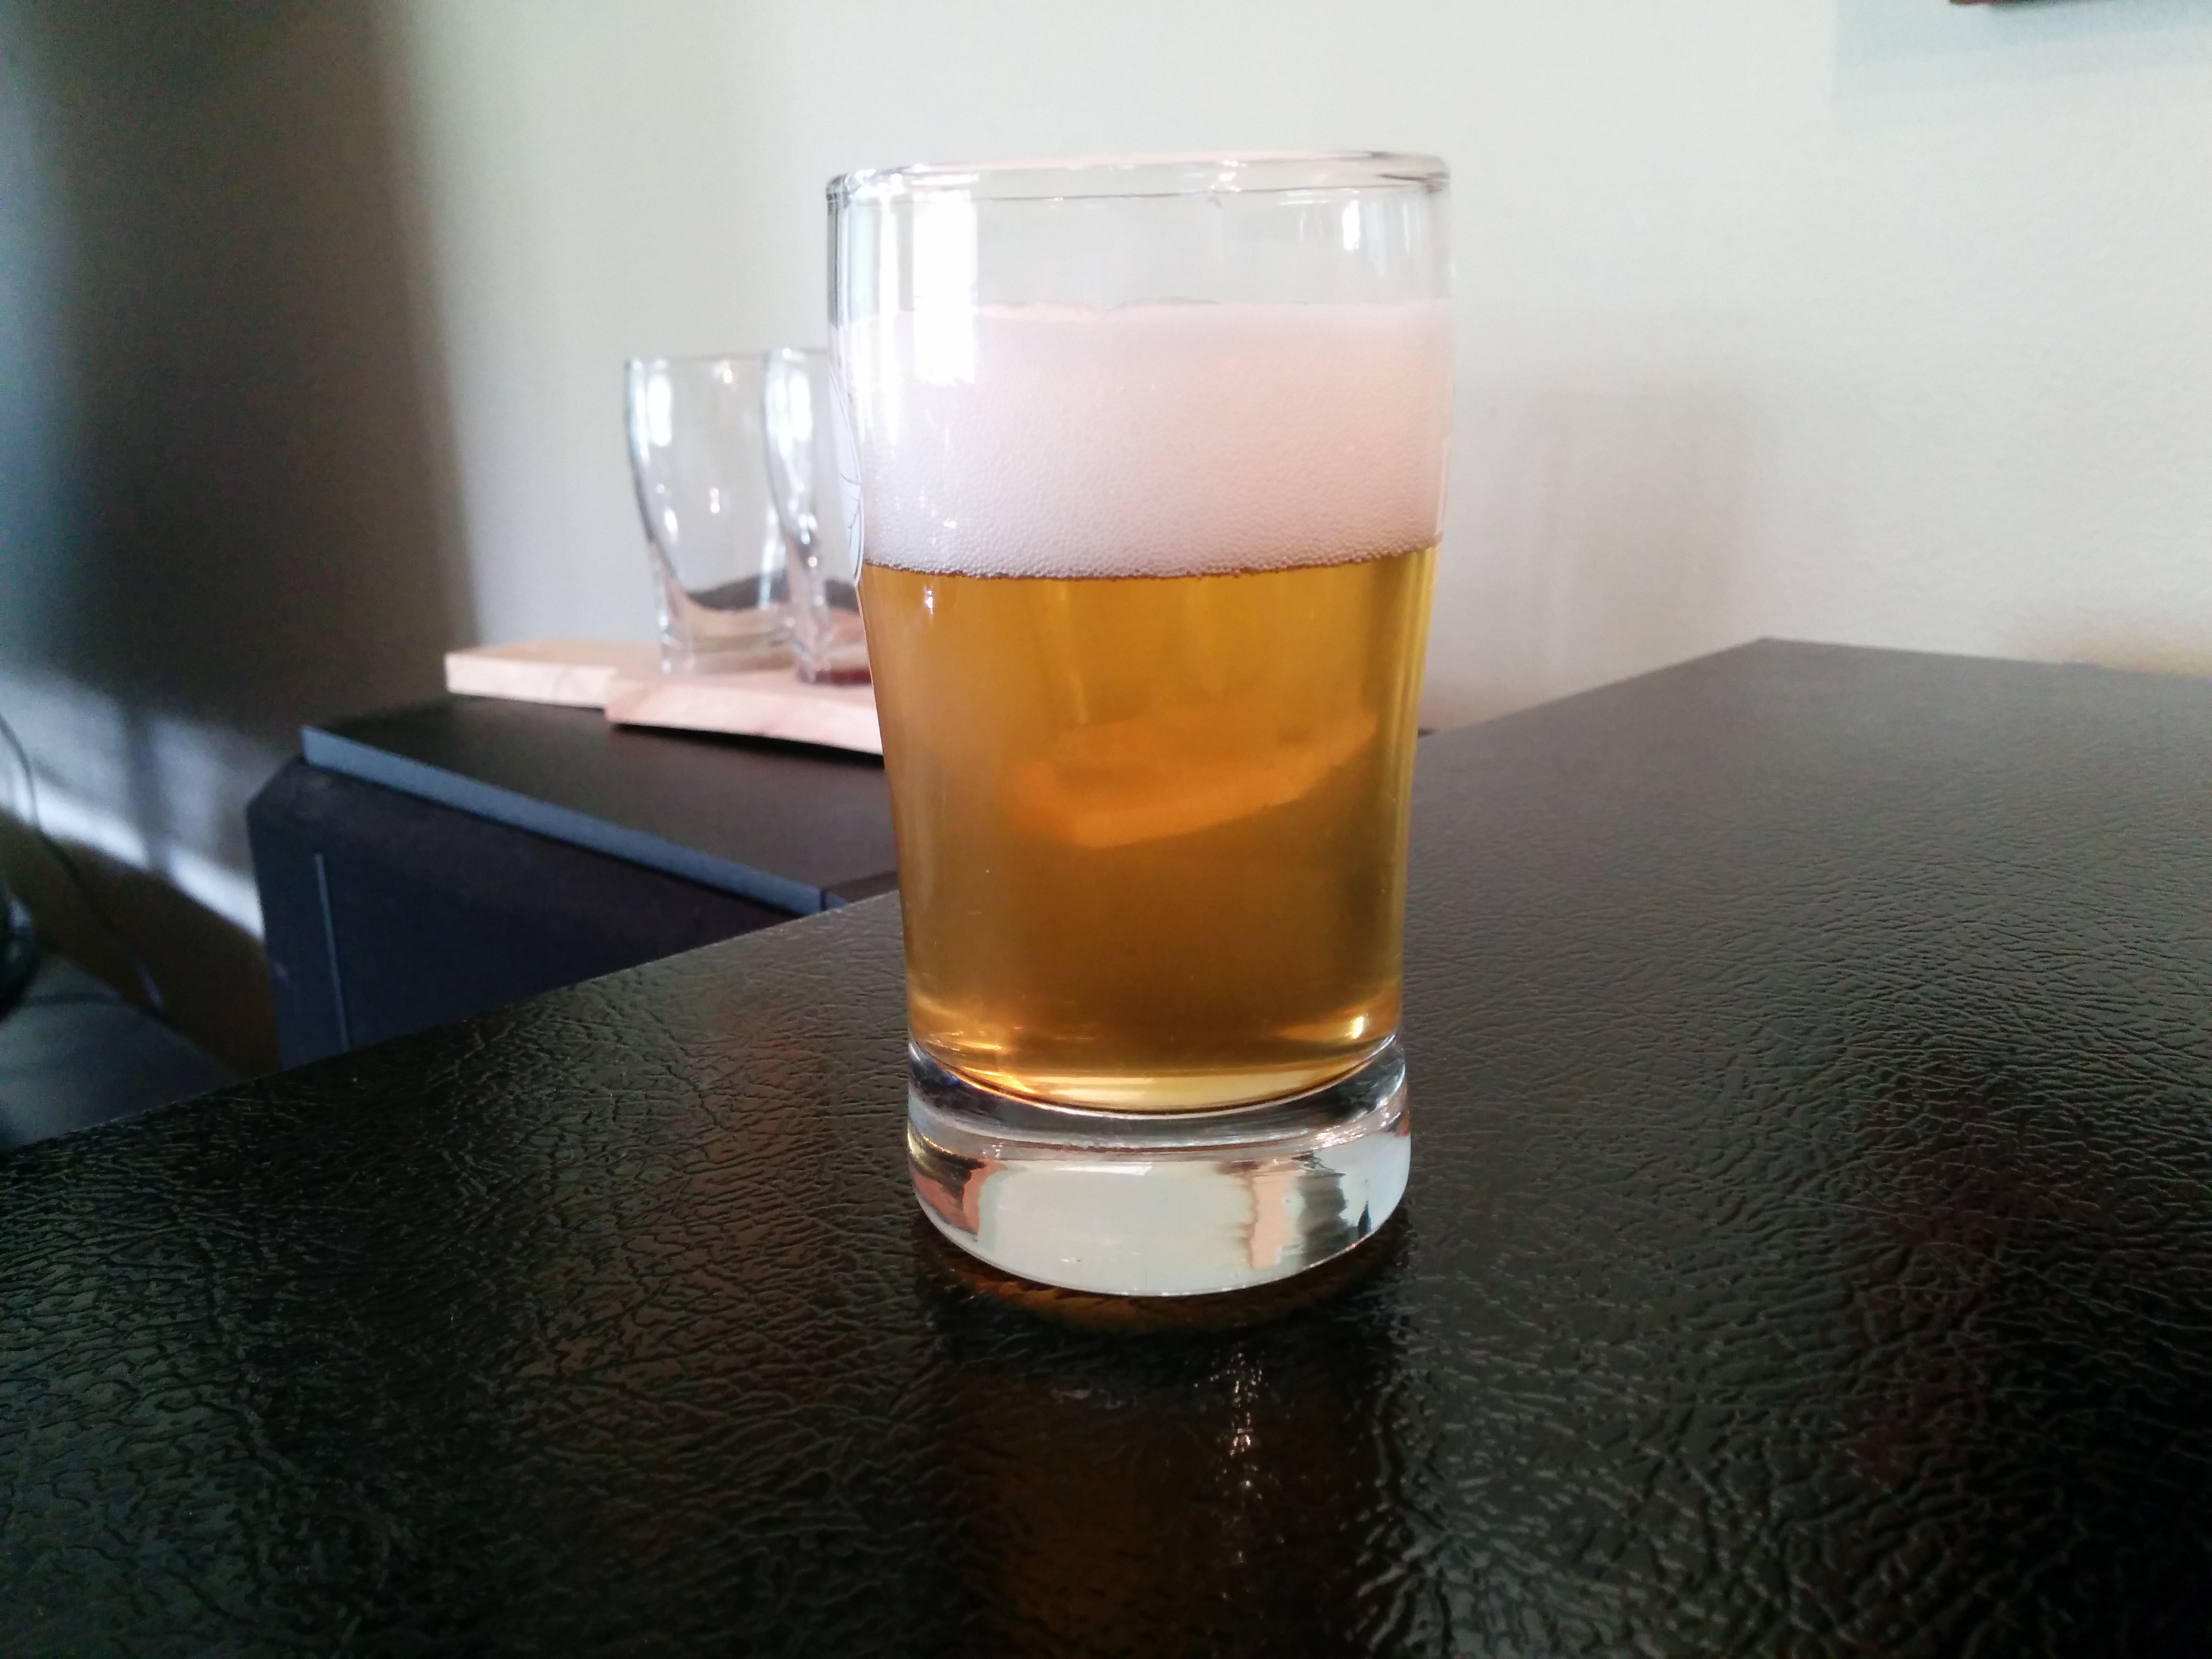
I think this beer came out great.  Munich Helles is a great show case for pils malt and I am interested in trying some more beers with it.  Three weeks is very fast but I do not taste any bad off flavors.  The only issue was under attenuation.  I was expecting 1.012 for my final gravity and I ended up with 1.017.   Sweeter then intended but not bad.  I think I might add another week to this lagering schedule.  I will track the gravity closely on the next batch.  I need to get a beerbug.

Next fast lager attempt @ 4 weeks:
7 days – 50° (half attenuated?)
5 days – Bumping temp by 3° every day (50° to 65°)
5 days – 65° (nearly fully attenuated?)
3.5 days – dropping temp 5° every 12 hours to 30°
7.5 days – 30°
Total = 28 days

IMG_20140507_085454

Hopefully the last few major orders

The RTD temperature probes have been ordered.  I also ordered a few extra normally closed contractor blocks for the panel switches.  These will allow me to setup a safe start interlock for the panel.  I spent the extra money for 25′ of 3/16″ walled 1/2″ ID silicon tubing to avoid any kinking issues.  Finally I am making a home made vent for the boil kettle based on this post.  It will be built from a 30qt stainless steel mixing bowl, a 4″ duct fan, and dryer hose.

rtdprobefan

auberins.com
3x RTD sensor, 1.5″ probe, 1/2″ NPT thread
1x RTD sensor, 2” probe, weldless fitting
4x NC switch block

amazon.com
1x White silicone tubing, 1/2″ ID, 7/8″ OD, 3/16″  wall, 25′ length
1x VenTech IF4 4″ inline duct fan 190 CFM
1x Stainless steel mixing bowl, 30 quart
1x 4″x8′ flexible duct


More dremeling

Volt/AMP meter hole has been cut.  The 5/8″ dip tube has also been cut.  It was designed to fit entirely under the false bottom including the bulkhead.  I left a half of an inch between the bottom of the dip tube and the bottom of the mash tun.

IMG_20140505_144109 IMG_20140505_142834 IMG_20140505_143027

An industrious weekend

Real progress has been made now that the punches have arrived. Doing all of this with a step big is possible but I would not recommend it.  I started each hole with a 1/8 bit then used a step bit to widen it to accept the lug for the punch.  The dremel also got a bunch of work.  I cut the factory grounding post off the panel to make more space for the buzzer and the holes for the PIDs and timer.  I still need to dremel the hole for the volt/amp meter and I need to cut the MLT dip tube to length.  The sight glasses were installed with a step bit.  So far I have only calibrated the boil kettle.  The element is covered with 2.5 gallons and the whirlpool fitting is submerged with 5 gallons.  I placed my newly built kettles on a 72″x24″ stainless steel prep-table.  Since the temporary brewing space is still carpeted at this point I added a catalina cactus carpet below to catch drippings.

IMG_20140504_170805IMG_20140505_091306 IMG_20140504_170835 IMG_20140504_170850IMG_20140504_170856IMG_20140504_170829

Innovative Restaurant Supply (local)

1x 72″x24″ Stainless steel prep-table
1x 5’x3′ Catalina carpet